Flutter Project Structure Explained
Understanding the structure of a Flutter project is crucial for beginners who want to build scalable and maintainable applications. A well-organised project not only enhances productivity but also simplifies collaboration among team members. This article will delve into the anatomy of a Flutter project, explaining the purpose of its key components and offering best practices for organising code effectively.
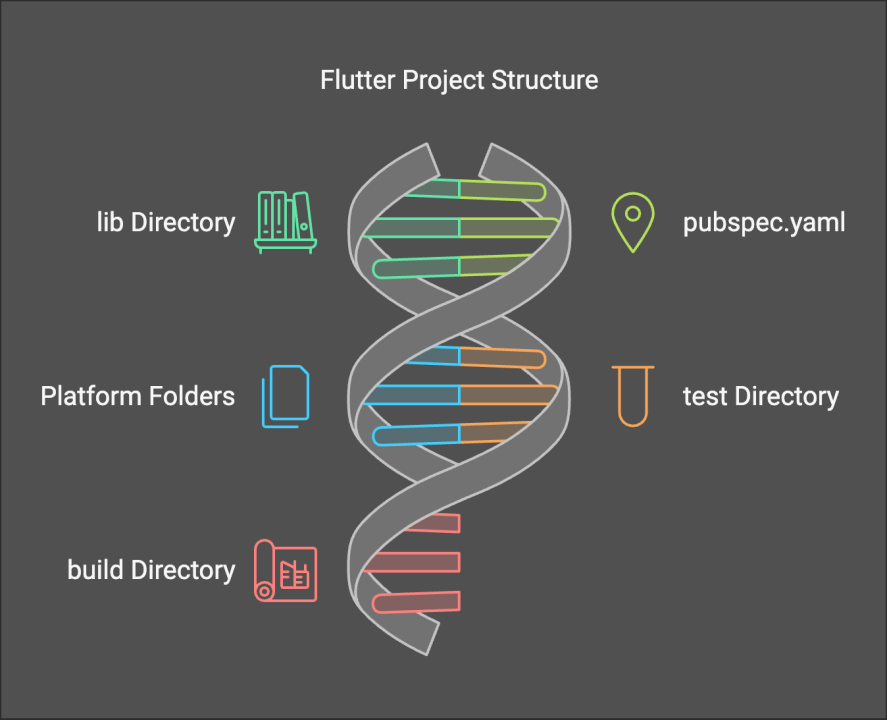
Overview of the Flutter Project Structure
When you create a new Flutter project, several folders and files are generated automatically. Here’s a breakdown of the essential components:
Typical Content in These Folders
Here’s what you might typically find in these folders:
lib/:
pubspec.yaml:
name: my_flutter_app
description: A new Flutter project.
dependencies:
  flutter:
    sdk: flutter
  http: ^0.13.3
assets:
  - images/
android/:
ios/:
test/:
Important Files in Detail
main.dart
The main.dart file serves as the entry point of your Flutter application. It typically contains the main() function, which calls runApp() to launch the app. Here’s a simple example:
import 'package:flutter/material.dart';

void main() {
  runApp(MyApp());
}

class MyApp extends StatelessWidget {
  @override
  Widget build(BuildContext context) {
    return MaterialApp(
      home: Scaffold(
        appBar: AppBar(title: Text('Hello Flutter')),
        body: Center(child: Text('Welcome to Flutter!')),
      ),
    );
  }
}
pubspec.yaml
The pubspec.yaml file is where you manage your app's dependencies and assets. You can add packages from the Dart package repository, specify asset paths, and define other configurations. Here’s how you might add a dependency:
Recommended by LinkedIn
dependencies:
  flutter:
    sdk: flutter
  provider: ^6.1.2
android/AndroidManifest.xml and ios/Info.plist
These configuration files are essential for each platform. The AndroidManifest.xml file includes permissions, app name, and other settings for Android, while the Info.plist file serves a similar purpose for iOS. Here’s a snippet from AndroidManifest.xml:
<manifest xmlns:android="http://schemas.android.com/apk/res/android"
    package="com.example.my_flutter_app">
    <application
        android:label="My Flutter App"
        android:icon="@mipmap/ic_launcher">
        <activity
            android:name=".MainActivity"
            android:launchMode="singleTop">
            <intent-filter>
                <action android:name="android.intent.action.MAIN"/>
                <category android:name="android.intent.category.LAUNCHER"/>
            </intent-filter>
        </activity>
    </application>
</manifest>
Best Practices for Organising Code
Organising your code effectively is vital for maintaining a clean and scalable project. Here are two common approaches:
Feature-first Structure
Example Structure:
lib/
  features/
    authentication/
      login_screen.dart
      signup_screen.dart
    home/
      home_screen.dart
Layered Structure
Example Structure:
lib/
  models/
    user.dart
  views/
    login_view.dart
  controllers/
    auth_controller.dart
Common Issues and Tips
While working with Flutter projects, you may encounter some common pitfalls:
Modifying Platform Files Incorrectly: Be cautious when changing files in the android/ and ios/ directories, as incorrect modifications can lead to build errors.
Troubleshooting Tips:
Conclusion
A well-organised Flutter project structure is essential for effective development and maintenance. By understanding the purpose of each folder and file, you can streamline your workflow and enhance collaboration. As your projects grow, don’t hesitate to experiment with different organisation patterns to find what works best for you.
Now that you have a better understanding of the Flutter project structure, it’s time to explore and experiment with it in your own projects. Try implementing different organisation strategies and see how they affect your development process. Happy coding!